Image Management Workflow
1. Management Logic Overview
Image management is the foundation of cloud machine operation and follows the standard flow of “configure path → obtain images → verify import → maintain and manage”. By centrally managing Android system images, you can quickly distribute environments to different physical hosts and ensure compliance and version consistency of cloud machine instances.
2. Core Operation Steps
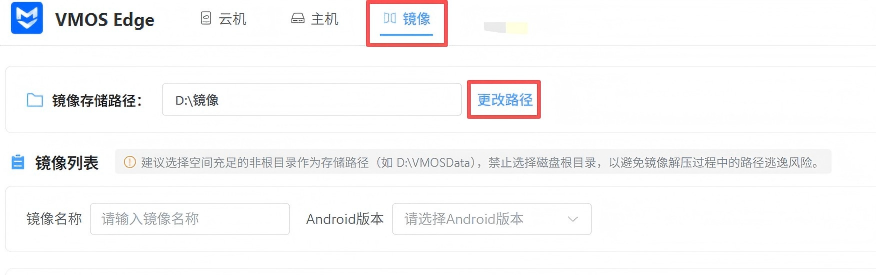
Step 1: Configure Image Storage Path
Before importing images for the first time, you must specify a local storage location:
- Change path: Click the “Change Path” button to select a disk location.
- Best practice: The default storage path is usually on the C drive. To avoid insufficient system disk space, it is recommended to switch to a drive with more space (such as D drive or a dedicated data disk).
Step 2: Obtain Official Images
- Official download: Click the “Official Image Download” button, and the system will open the official image list page.
- Version support: Choose the required version according to your business needs. VMOS Edge currently mainly provides Android 13 / 15 images.

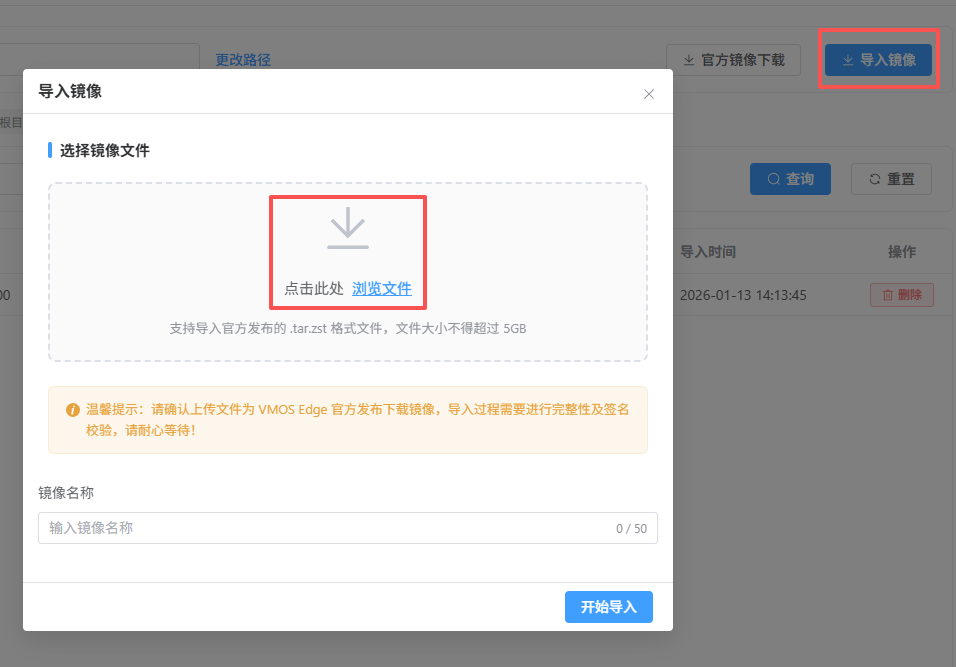
Step 3: Import and Recognition
- Upload methods: Click the “Import Image” button. You can either click “Browse Files” or drag files directly into the upload area.
- Verification mechanism: The system performs integrity and signature checks on uploaded files. Be sure to use officially released images; unofficial images will fail to import.
- Information display: After a successful import, the list automatically recognizes and displays the image name, version number, Android version, and file size.
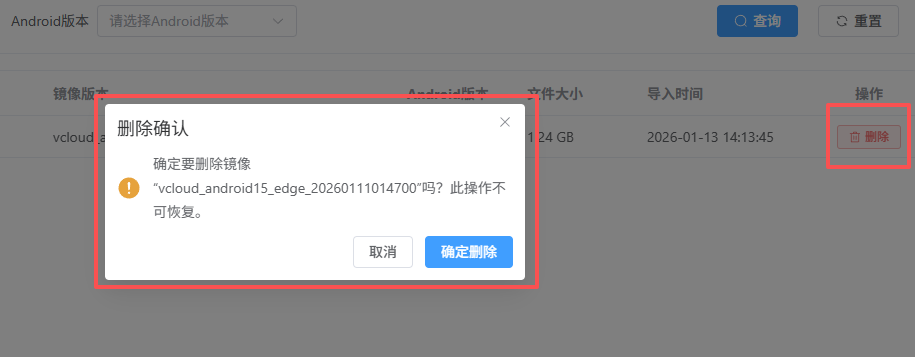
Step 4: Image Maintenance
- Delete operation: On the image list page, click the “Delete” button next to the target image.
- Note: Deleting an image is permanent and cannot be undone.
3. Key Business Scenarios SOP
Scenario A: Image Import and Recognition
- Enter the “Image Management” page and confirm that there is enough space at the storage path.
- Use “Official Image Download” to obtain the required version (such as Android 15).
- Run “Import Image” and wait for verification to pass and the image to be displayed in the list.