Cloud Machine Management Workflow
1. Management Logic Overview
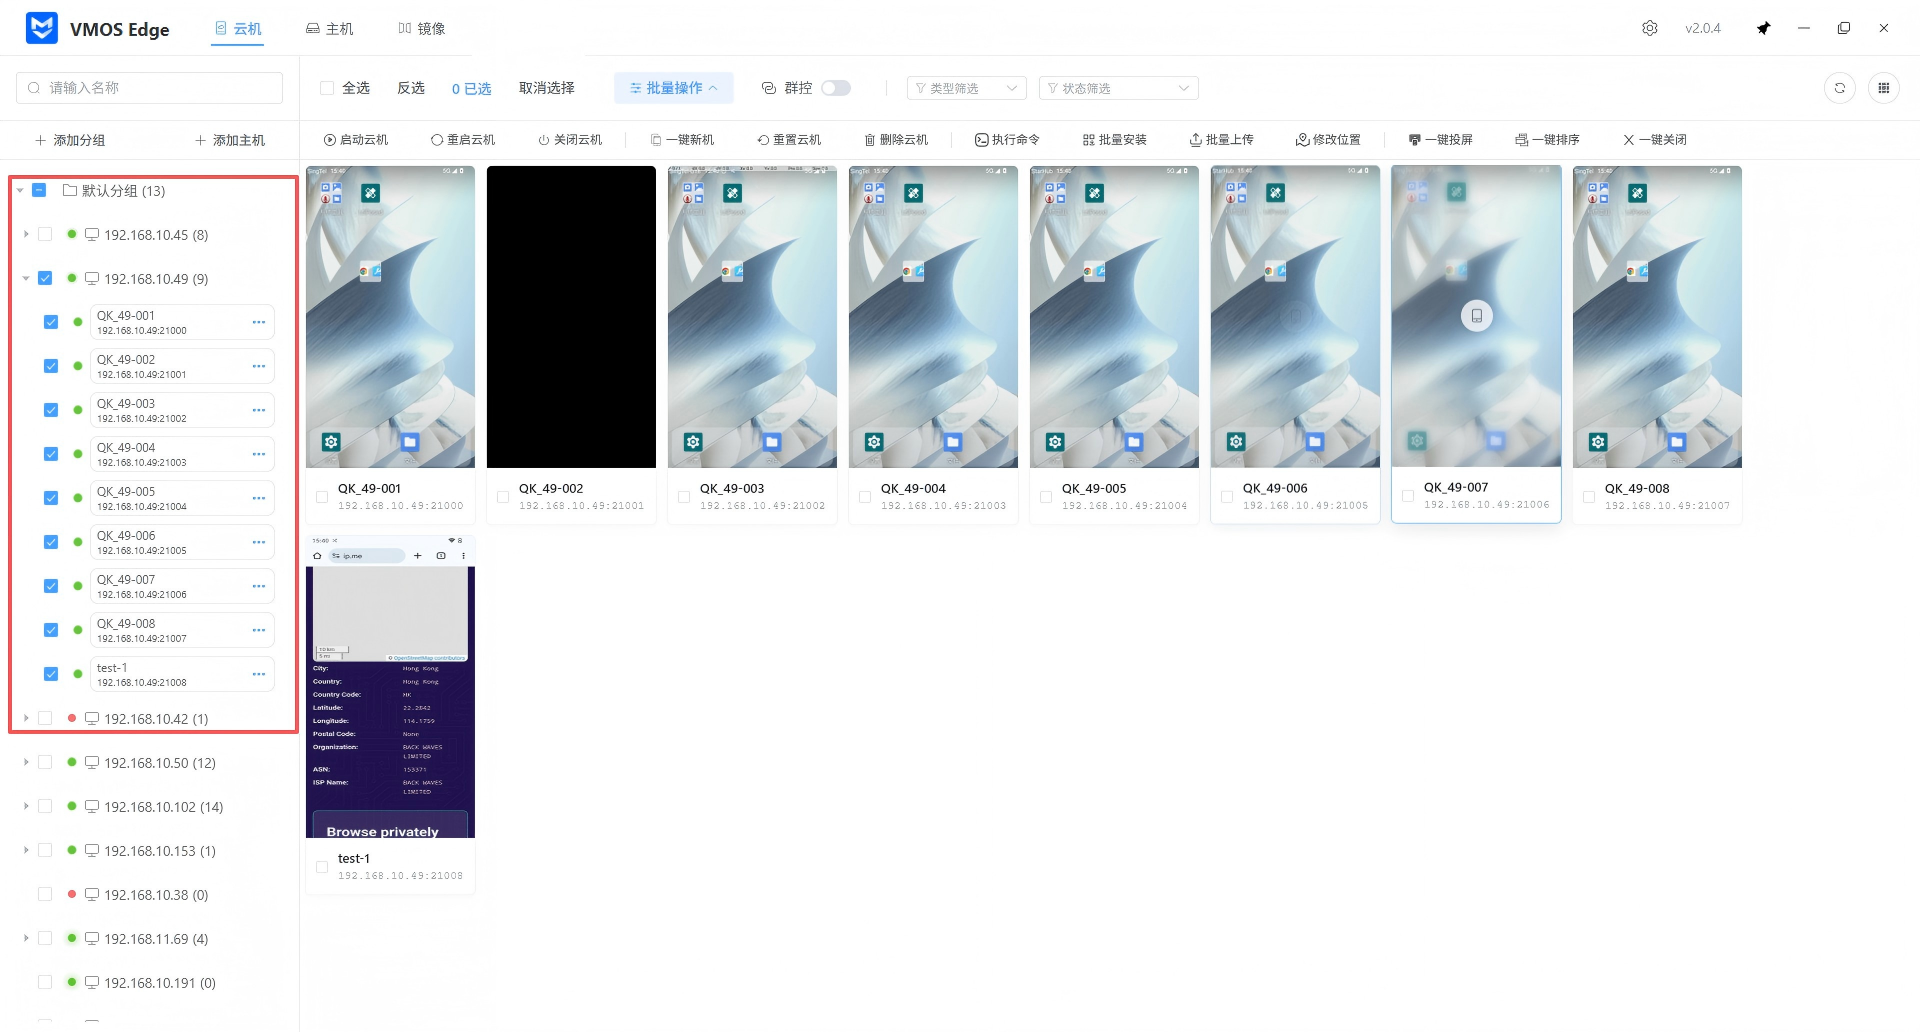
Cloud machine management follows the standard flow of “select host/group → filter and select cloud machines → execute commands”. With the resource tree on the left and the batch operation panel at the top, you can efficiently manage hundreds of cloud machine instances.
2. Core Operation Steps
Step 1: Select Hosts and Groups
In the navigation bar on the left, you can perform the following operations:
- Filter hosts: Click the corresponding IP address (such as
192.168.10.49) to display all cloud machine instances under that host in the middle area. - Manage structure: Use the “Add Group” or “Add Host” buttons to logically classify your physical devices.
Step 2: Select Target Cloud Machines
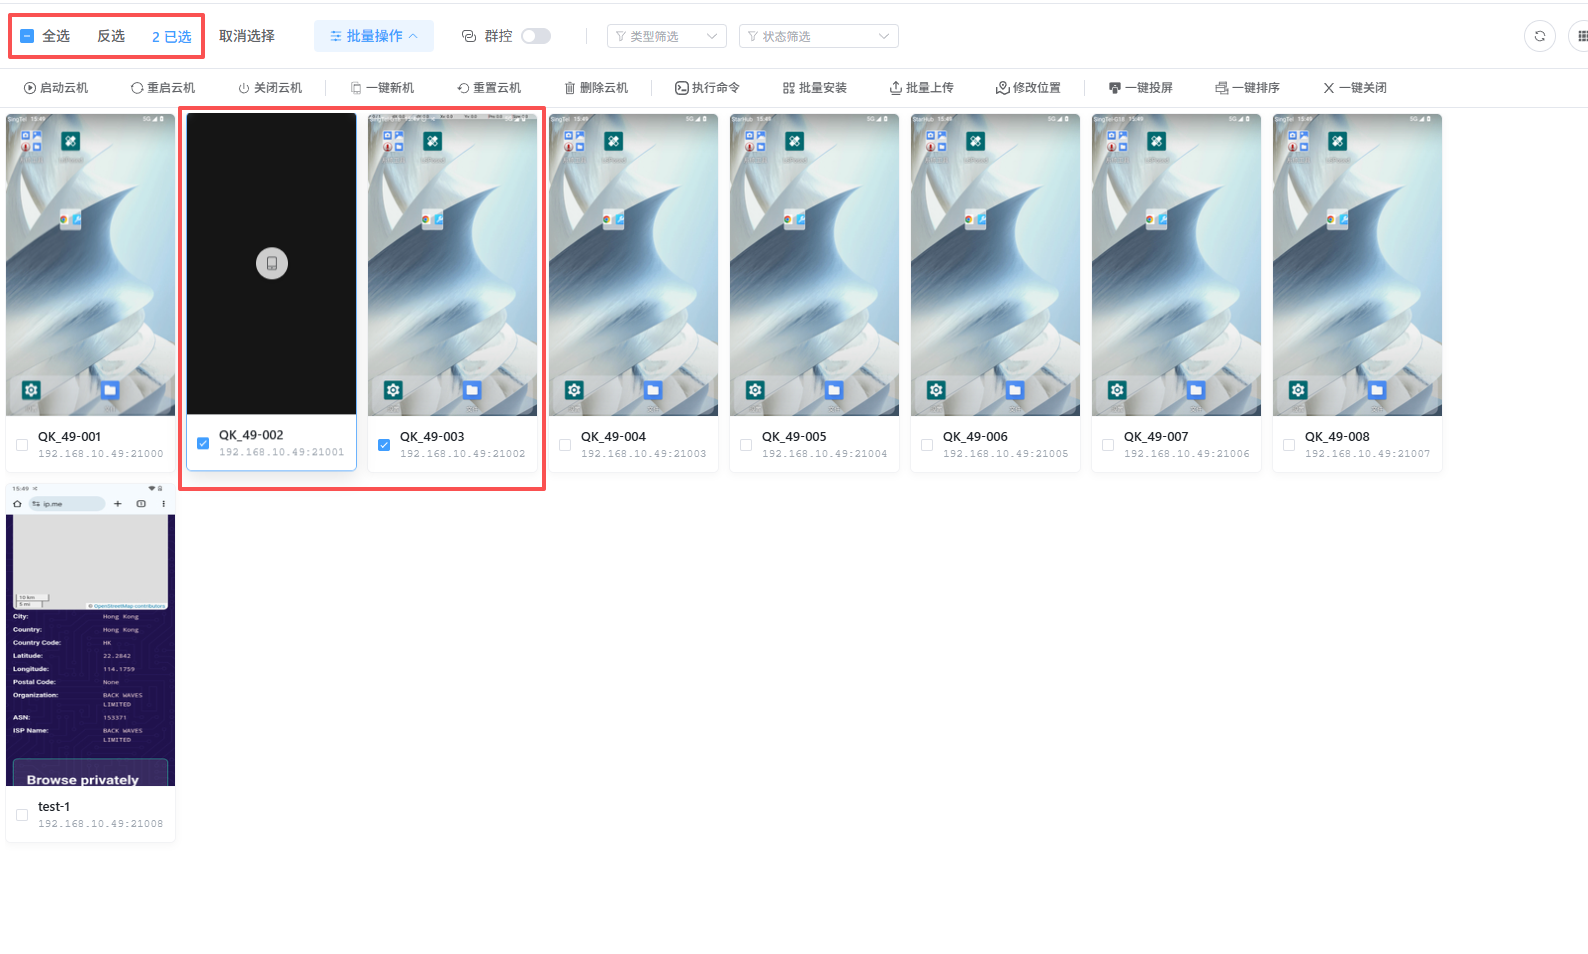
In the middle instance display area, you can flexibly select the objects to operate:
- Single / multiple selection: Check the box in the upper-left corner of the cloud machine thumbnail.
- Batch selection: Use “Select All”, “Invert Selection”, or “Clear Selection” at the top to quickly adjust the selection.
- Conditional filters: Use “Type Filter” and “Status Filter” in the upper-right corner to locate cloud machines in specific states (such as “Running” or “Stopped”).
Step 3: Issue Batch Commands
After selecting cloud machines, click the function icons at the top to execute operations. In version v2.0.4, the operation panel is divided into:
1. Basic State Control
- Start / Restart / Shut Down Cloud Machines: Control the running and suspension of Android containers.
2. Environment and Security Control
- One-Click New Machine: Reset device fingerprint information such as IMEI and Android ID for environment refresh.
- Reset Cloud Machine: Erase the Data partition and restore to the initial image state.
- Modify Location: Configure simulated geographic locations for the selected instances.
3. Application Deployment and O&M
- Batch Install: Distribute and install APK files for the selected cloud machines.
- Batch Upload: Synchronize local files to specified directories on cloud machines.
- Execute Command: Send ADB commands to the selected cloud machines.
4. View Monitoring and Layout
- One-Click Screen Mirroring: Open real-time preview windows for the selected cloud machines.
- One-Click Sort: Automatically arrange the preview windows according to defined rules.
- One-Click Close: Quickly close all opened mirroring windows.

3. Advanced Features
1. Clone Cloud Machines
The clone function allows you to quickly create new instances with the same configuration based on an existing cloud machine, especially suitable for batch deployment scenarios that need to retain installed apps and environment settings.
- Prerequisites: Switch to List Mode, and ensure the target cloud machine is in powered-off state.
- Steps: Right-click the cloud machine to open the operation bar, choose “Clone”, and set the new cloud machine name and clone quantity in the popup dialog (a single operation supports up to 12 instances).
- Key options:
- “Modify Cloud Machine Parameters” unchecked: New cloud machines will fully inherit all parameters of the source, including device fingerprints, system configuration, and app data.
- “Modify Cloud Machine Parameters” checked: The system will randomly generate new device parameters (such as IMEI and SIM information) based on the target country to achieve device fingerprint differentiation.

2. Cloud Machine Details
This feature is used to quickly check the core configuration and network status of a cloud machine, facilitating technical debugging and resource management.
- Access path: Right-click a cloud machine to open the operation bar, then select “Cloud Machine Details”.
- Information shown:
- Identification information: Cloud machine ID, custom name, image version, and Android version.
- Simulation information: Simulated device brand and model.
- Connection information: ADB connection address (IP:port) for remote debugging or file transfer via standard ADB tools, plus LAN configuration.
3. Group Control Synchronization (Core Sync)
The group control feature allows you to synchronize operations in real time across multiple cloud machine instances.
- Real-time synchronization: After enabling group control, your clicks, swipes, and text input in the master window are synchronized to all selected follower cloud machines.
- Operation demo video:
4. Key Business Scenarios SOP
Scenario A: Batch Deployment for New Business
- Select the target host on the left.
- Use “Batch Select” to select all cloud machines that need deployment.
- Click “Batch Install” and choose local APK files (supports parallel upload to up to 8 hosts).
- Click “One-Click Install” to complete installation (installation packages support batch upload and installation).
Scenario B: Environment Refresh for Anti-Ban (One-Click New Machine)
- Select the target host on the left.
- Select the cloud machines that need to be refreshed.
- Click “One-Click New Machine”.
- Confirm whether to clear all device data. If you enable data clearing, the cloud machine parameters will be regenerated after one-click new machine; proceed with caution.
💡 One-click new machine is executed asynchronously in the background. The cloud machine name and ID remain unchanged, while the system generates new device information (such as SIM card, language, timezone, etc.) according to the cloud machine’s country, making it appear as a “new device” in applications.
Scenario C: Real-Time Group Control on Multiple Machines
- Select the target host on the left and check all cloud machines that need synchronized control in the middle area.
- Click the “Group Control” icon on the top operation panel to enable group control mode.
- Operate in the popup master window (or the selected master cloud machine window).
- Observe the other follower cloud machine windows to confirm that clicks, swipes, and text input are synchronized in real time.